How to Create a Zoom Meeting for Your Online Sessions


Whether you are a coach or teacher, you can schedule online meetings and teach online using popular video conferencing apps, and Zoom is probably the best for this need. Why so?
- You don’t necessarily need to have a website, schedule a Zoom meeting for your online sessions directly from your account on the internet or even your mobile phone.
- Enjoy multiple productivity tools in the Zoom settings to boost your online teaching, such as team chats, clips, notes, etc.
You can even use Zoom for free for meetings up to 40 minutes, 100 participants, and with features like Whiteboard included.
But there is even more to it. Time management is important, so if you want to save time by sharing your availability with others and allowing them to book appointments to your Zoom meetings, there is a dedicated Zoom Scheduler feature, which is available in the most expensive Zoom plan (Business & Enterprise). But first, let’s learn to create a zoom meeting.
Key Zoom Launching Method to Create a Zoom Meeting
There are three key Zoom launching methods to create a Zoom meeting:
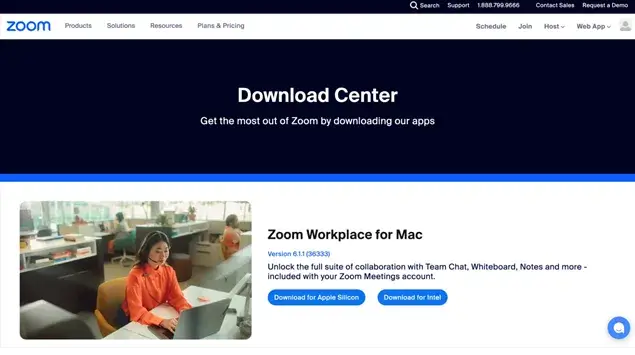
- Download and install Zoom software (Zoom Desktop Client) directly to your computer. It allows you to join, start, and schedule meetings directly from your account.
- Create a Zoom Account and schedule meetings directly in your internet browser.
- Install a Zoom app on your phone and set up a Zoom meeting directly from your mobile device.
At the same time, regardless of what way you find more suitable to start with, the scheduling menu in Zoom is pretty similar. So let’s get started with the second method, since it works on any computer, whether you’re on Windows, macOS, or Linux. This way, you don’t need to worry about your operating system.
How to Create a Zoom Meeting?
Once you have an account, it’s simple and intuitive! Let’s take you through the main steps.
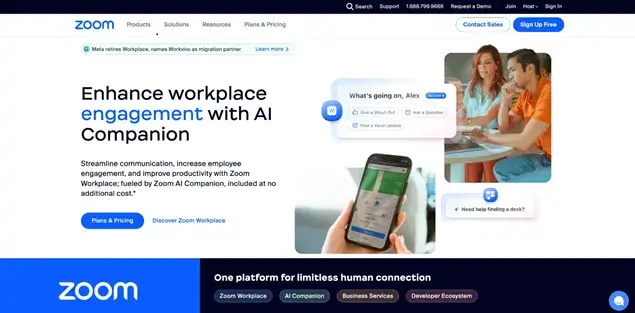
Step 1: Log in to your Zoom account or sign up using a preferred method (SSO, Apple, Google, Facebook) if it’s your first time to create a zoom meeting. In case of the latter, make sure to customize your profile to have basic information and account settings in place.
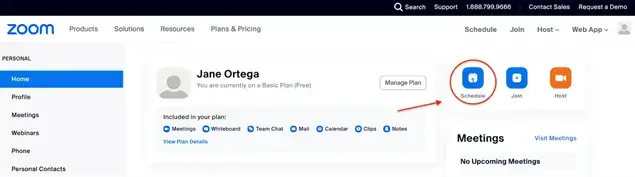
Step 2. In your Zoom account, you will see an option to download the Zoom app. Just below that, you will see three icons. Schedule, Join, Host. Click on the Schedule icon from the right.
Step 3. You will be prompted with the meeting schedule screen. Here you can set up the following details for your future Zoom meeting:
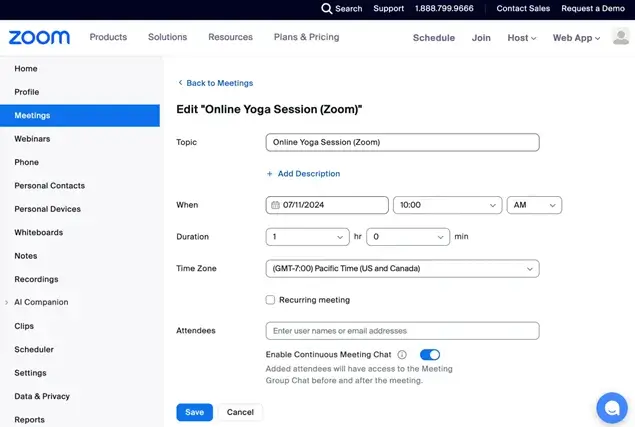
Schedule:
- Public meeting topic. Your students can see it in the Zoom invitation email. You can optionally provide more information in the description field.
- Date and time. Pick a date and time that works for you. As the host, you can even start the meeting a bit earlier than the time you set.
- Duration. Set up a meeting duration. Note that it’s only 40 minutes when you create a zoom meeting using the Free Plan.
- Time Zone. By default, the meeting will use your computer’s time zone. You can easily change this if needed when you schedule a zoom meeting.
- Meeting frequency. Decide if this is a one-time meeting or if you want it to happen regularly (if so, tick the ‘Recurring’ box and configure your preferences).
Participant Options:
- Add participants. Add email addresses of those you want to invite (they will receive an invitation to that email). Or, you can then simply send an automatically generated meeting link directly to people you want to invite. For example:

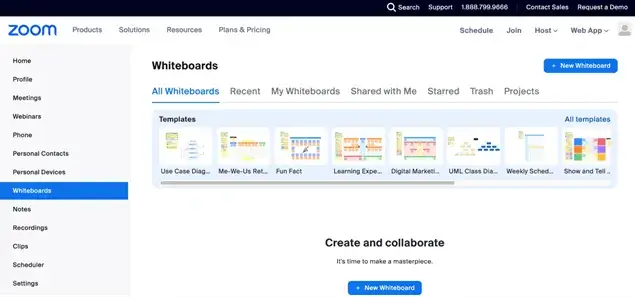
- Customization. Optionally add whiteboards and set templates for your meeting.
- Video and audio. With this zoom meeting feature, you can decide whether the participants can turn on their video camera and join their audio during the zoom meeting.
Step 4. Save the changes.
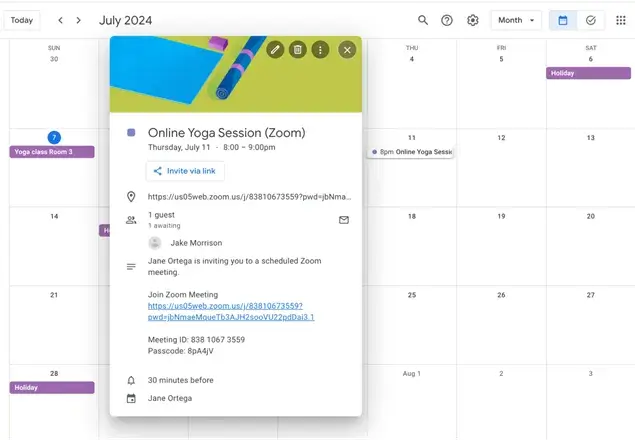
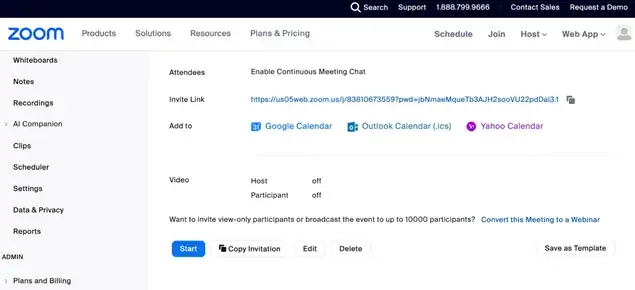
Step 5. Review details and optionally add this meeting to your preferred calendar app (like Google Calendar). By clicking on the ‘Copy invitation’ button, you can easily send the whole invitation text to participants directly.
When it’s meeting time, simply find the meeting in your Zoom interface and click “Start” next to it. Participants can directly use the meeting link to join. Alternatively, they can also use the invitation ID and password generated when you create a zoom meeting.
There is also a Zoom Chrome extension, which integrates with popular calendar apps, allowing you to schedule meetings directly from calendar events and launch them with a single click. If it’s your first Zoom meeting schedule, make sure to play around in your account and set up the rest of the features you might need – go through the menu on the left to set up whiteboards, clips, notes, docs, recordings etc.
If you are installing the Zoom Desktop Client software for the first time, read how to do it in our previous Zoom tutorial.
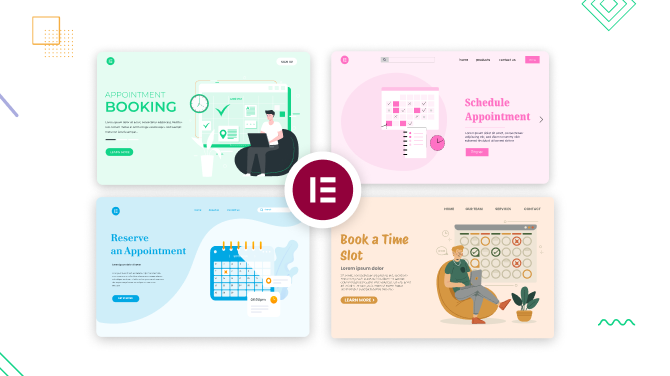
How to Allow Students to Book Your Time for Zoom Meetings?
Just like you learnt how to set up a zoom meeting, you can enable others to book your time for Zoom sessions. Confused? Well, it’s very much doable and here are the steps.
Let’s jump to the most popular ways:
1. Without a website: Use dedicated platforms related to your teaching business where you can list your availability and get paid online. You can also purchase an account with Calendly or Doodle for this purpose. Needless to say, you can upgrade to at least the Business plan with Zoom, which is $219.90/user/year, which might not be super affordable for solo teachers or small teams.
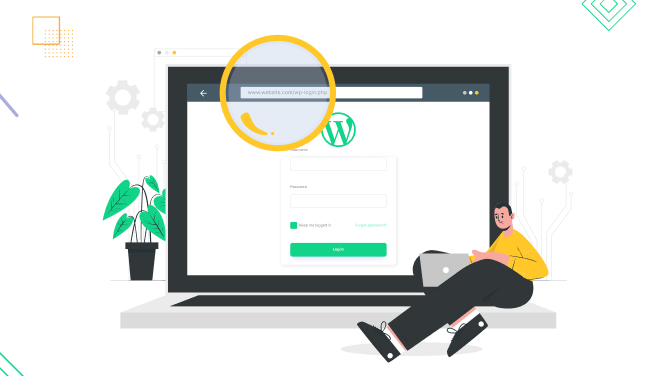
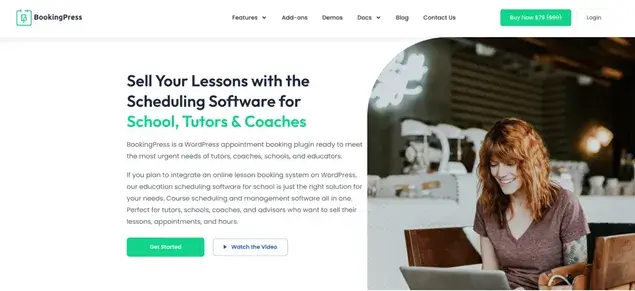
2. With a website: Create a cost-effective WordPress site and install the BookingPress teacher scheduling plugin, which is perfectly suitable for
– setting up your availability,
– allowing clients to book your time and optionally pay for it upfront, and}
– connecting Zoom for smooth meetings with the BookingPress Zoom integration extension designed specifically for this purpose.
How to Record a Zoom Meeting
Once you successfully create a Zoom meeting, do you want to record it? Well, it’s very much possible to record a zoom meeting so that it can be used in future.
What are the Benefits of Recording a Zoom Meeting?
- Supports Absentees: If any of your meeting attendee misses out on joining your live zoom meeting, they can access the recordings and be up to date.
- Revision: A recording acts as a revision module for everyone in the program. If someone has missed out on any section due to the internet, they can catch it up quickly. It also supports note taking at ease.
- Sell as Digital Products: You can sell the session recordings separately as digital downloads and boost its earning potential.
- Bonus or Benefits: Sharing a recording can act as a bonus for paid live zoom meetings. The attendees will pay if they see some inherent benefits and this can be one of it.
Steps to Record a Zoom Meeting
- Enable Recording: Simply go to your Zoom Account, Settings > Recording. From here, turn on Local or Cloud Recording that is available for Paid Plans.
- Start the Meeting: After this, you can begin your Zoom meeting as a host.
- Record: You will see an option for Record on the toolbar. If prompted, choose the local or cloud recording.
- Grant Permissions: You can also allow participants to record the meeting by clicking their name in Participants > More > Allow to Record. This is completely optional.
- Pause/Stop: You can easily use the Pause or Stop recording buttons during the meeting to keep your recording professional and trimmed as per your choice.
- Access Recording: Once the meeting ends, you can find your file in the Zoom folder if you choose the local option. Otherwise, it will be in the Recordings folder on the Zoom web portal that is your cloud.
All done! It is that easy to record your Zoom meetings after you create a zoom meeting using your Zoom account or simple Google sign in.
Let’s Conclude: How to Create a Zoom Meeting Link for Your Online Sessions?
Zoom makes it super intuitive for you to become a host for virtual sessions, giving you many methods to schedule a meeting via:
- Zoom Desktop Client. This is the main application you download and install on your computer, no matter the operating system. It’s very easy to launch and manage Zoom meetings. On the cons side, it will take up storage space and require updates.
- Zoom Mobile App. Available for Android and iOS devices, this app lets you launch and join zoom meetings from your smartphone or tablet. Note the smaller screen and limited functionality compared to the desktop client.
- Zoom Web Portal. Easy to schedule and launch meetings directly from Zoom’s website using a web browser, which at the same time means it heavily relies on a stable internet connection.
There are also various extensions that allow you to easily launch a video meeting. Then you just need to set up your schedule parameters and invite people!


Brian is a WordPress expert with a decade of developing experience & technical-writing. He enjoys blogging, movies & hiking.

Get BookingPress Premium
50+ Premium Addons
20+ Payment Gateways
Plan starts at just $79
Get Premium Now