
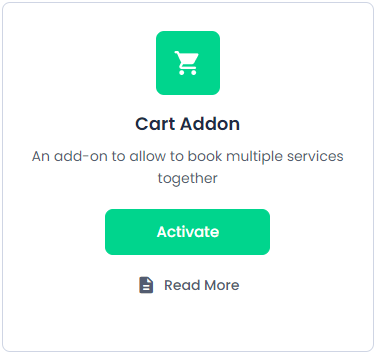
Cart Addon
Cart Integration:
The Cart Addon for BookingPress allows users to book multiple appointments in a single transaction. This feature improves user experience by enabling customers to add multiple services to their cart before proceeding to checkout.
To Get and Activate the Cart addon, please follow the steps below:
- First, login to the BookingPress Website, and you will be redirected to the My Account page.
- Now, click on the “Access Passes” link from the left menu panel.
- After going to the Access Passes, click on the “View your downloads” button.
- From the list, please look for the “Cart” add-on, click on the download button, and it will automatically start downloading the addon. After the download is finished, upload the downloaded zip file to WordPress just link any other WordPress Plugin, then install and activate the addon to use it.
Once the Cart addon is activated users can simply use the Cart functionality in the front-end.
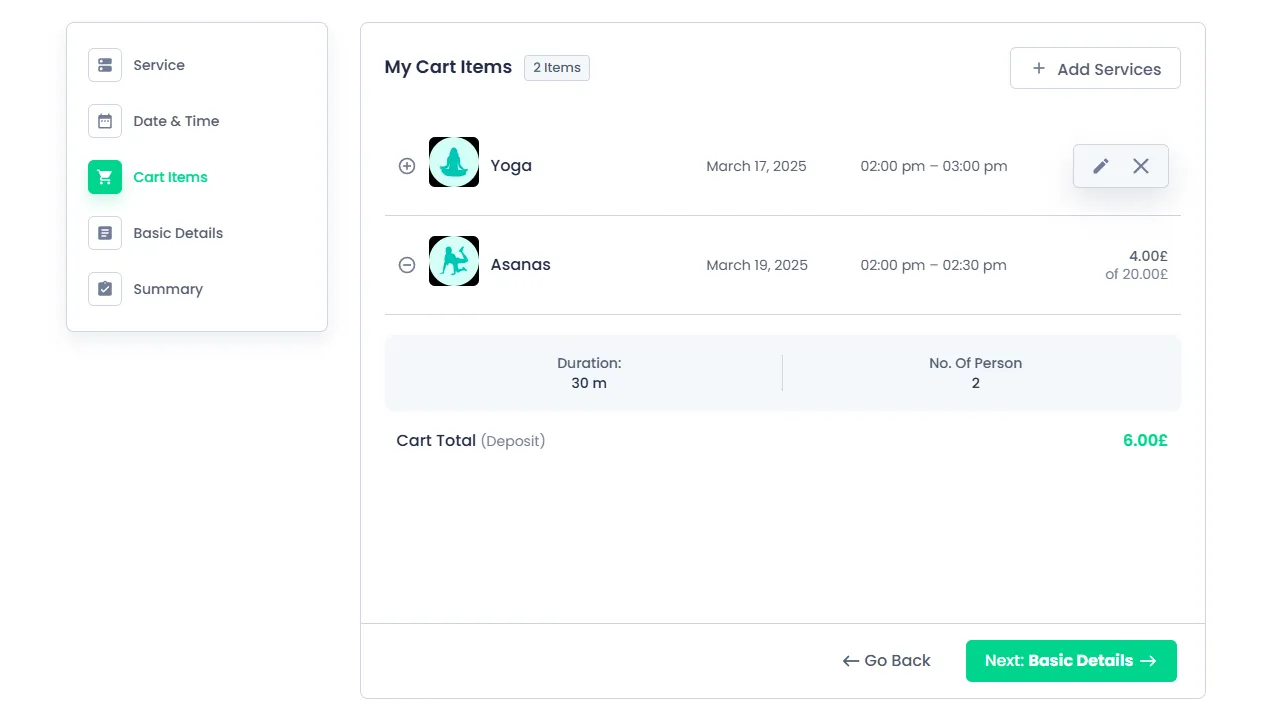
Checkout Process
Once customers have added their desired appointments to the cart, they can proceed with the following steps:
- Review the cart and make changes if necessary.
- Enter their details and select a payment method.
- Confirm the booking and complete payment.
- Receive a confirmation email with all booked appointments. (If the cart list placeholder is added to the email notification)
Note: After the addon is activated, you will be able to set the deposit for adding multiple Services at a time, and deposit will be calculated accordingly for each and every services.
Customize Cart Labels
You can personalize the cart labels :
- Go to
BookingPress > Customize > Forms. - Here, in the Label settings in the right you can scroll down to the Cart Step labels and alter them as per your liking.

Here you can set and update labels such as.
- Cart Step
- Cart title
- Cart item title
- Add service button label
- Empty cart label
- Cart Duration title
- Cart Staff title
- Total title
- Cart No. of person title
- Cart service extra title
- Cart service extra quantity title
- Cart deposit title
- Cart edit item title
- Cart remove item title
Add Cart Appointments to Invoices
This addon also offers you the shortcode [BOOKINGPRESS_CART_ITEMS] [/BOOKINGPRESS_CART_ITEMS] that you can implement in your invoice template configuration to add Cart Appointment information in your invoice.
Email Notifications
To include cart appointments in the email notifications, use the shortcode:
[CART_APPOINTMENT_LIST CANCEL=FALSE RESCHEDULE=TRUE APPROVE=TRUE REJECT=TRUE LABELS=”service_name | Service Name;date_time | Date & Time;cancel_link | Cancel;approve_link | Approve;reject_link | Reject”]
%cart_appointment_list%
[/CART_APPOINTMENT_LIST]
Parameters that are passed :
- CANCEL: Adds a column with a cancellation link if set to
TRUE. - RESCHEDULE: Adds a column with a reschedule link if set to
TRUE. - APPROVE: Adds a column with an approval link if set to
TRUE. - REJECT: Adds a column with a rejection link if set to
TRUE. - LABELS: Defines column labels using the format
parameter_name|Custom Label. You can addservice_name,date_time,cancel_link,approve_link, andreject_link.
Example: To display a service_name column with the label Service, use service_name|Service.
To add more labels, separate them with a ;. For example: LABELS=”service_name|Service; date_time|Date & Time”
Parameters and Behavior:
- Default Labels: If no custom labels are provided, default labels will be used for columns.
- Parameter without Label: If a parameter is set to
TRUEbut no label is specified, the default label will be applied. - Parameter Set to
FALSE: No column will be created for that parameter. - Basic Shortcode Usage: Using only
%cart_appointment_list%will display service name, date & time, and staff (if enabled). - Column Inclusion: Only parameters explicitly set to
TRUEwill have corresponding columns. - Approval & Rejection Links: These links are only included in notifications sent to staff members or admins.
To configure this, navigate to BookingPress > Notifications and update your templates accordingly.
Note: This is applicable for the Email Notification only and not SMS and WhatsApp Notifications!
SMS and WhatsApp Notifications
You can simply head over to BookingPress > Notifications, scroll down, and update the template as per your liking.
To display the cart appointment list in your SMS or WhatsApp notification, add the placeholder: %cart_appointment_list%
Note: If you have activated SMS Notification and WhatsApp Notification Addons, then the client will receive only one notification when the Cart appointment is booked.
– However, in the case of scheduled notification, the SMS/WhatsApp notification will be sent at each occurance.
– Similarly, when changing the status of each individual appointment the notification for that particular appointment will be shared.
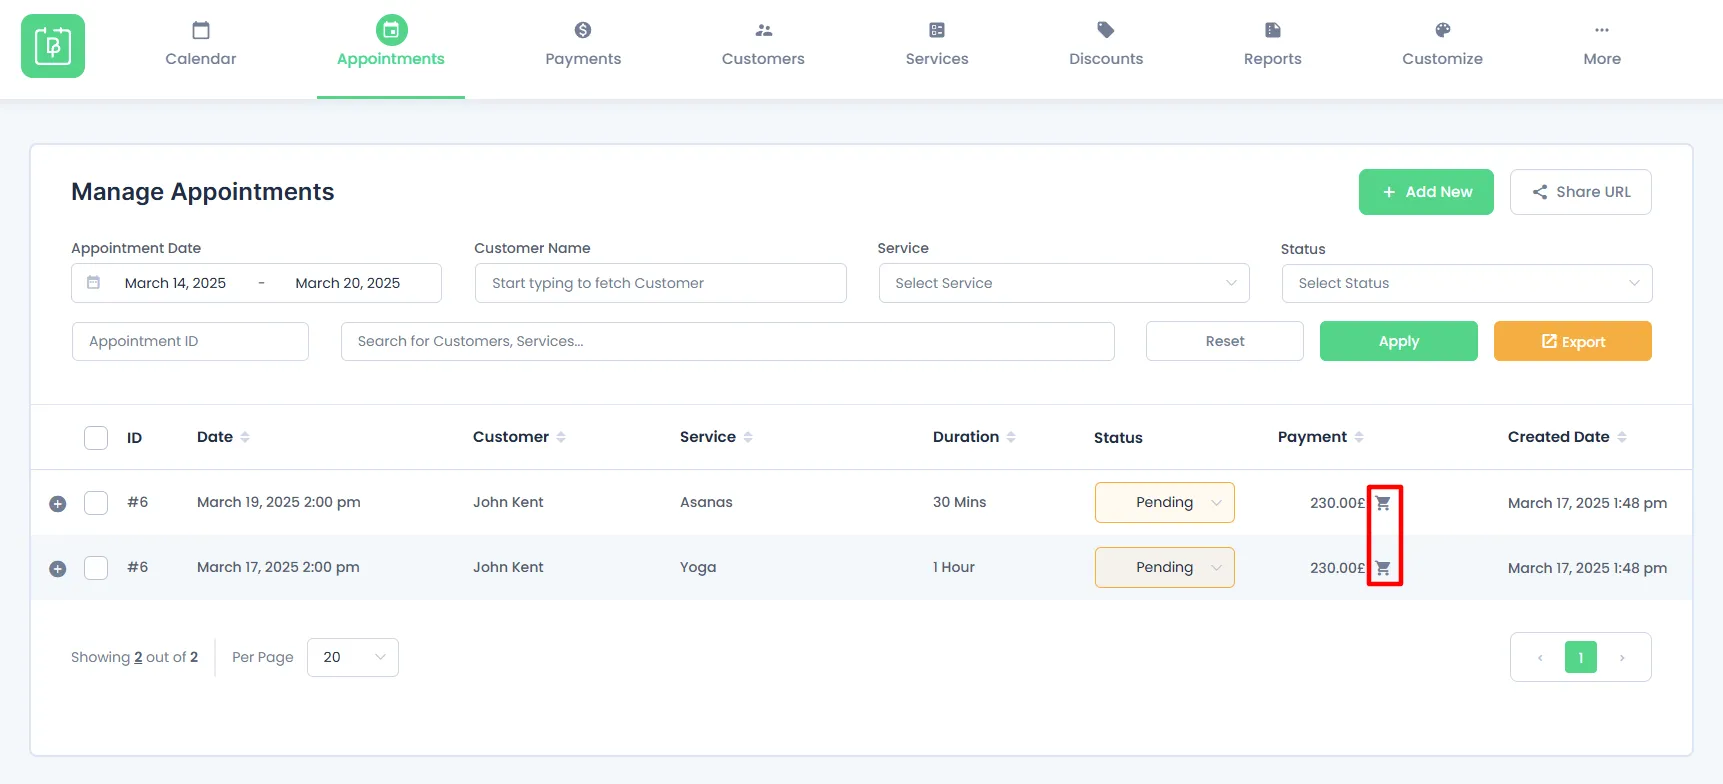
Managing Cart Appointments
Admin Panel:
- View all appointments booked via the cart in BookingPress > Appointments.
- Modify or cancel individual appointments within a cart booking.
- Resend confirmation emails if needed.
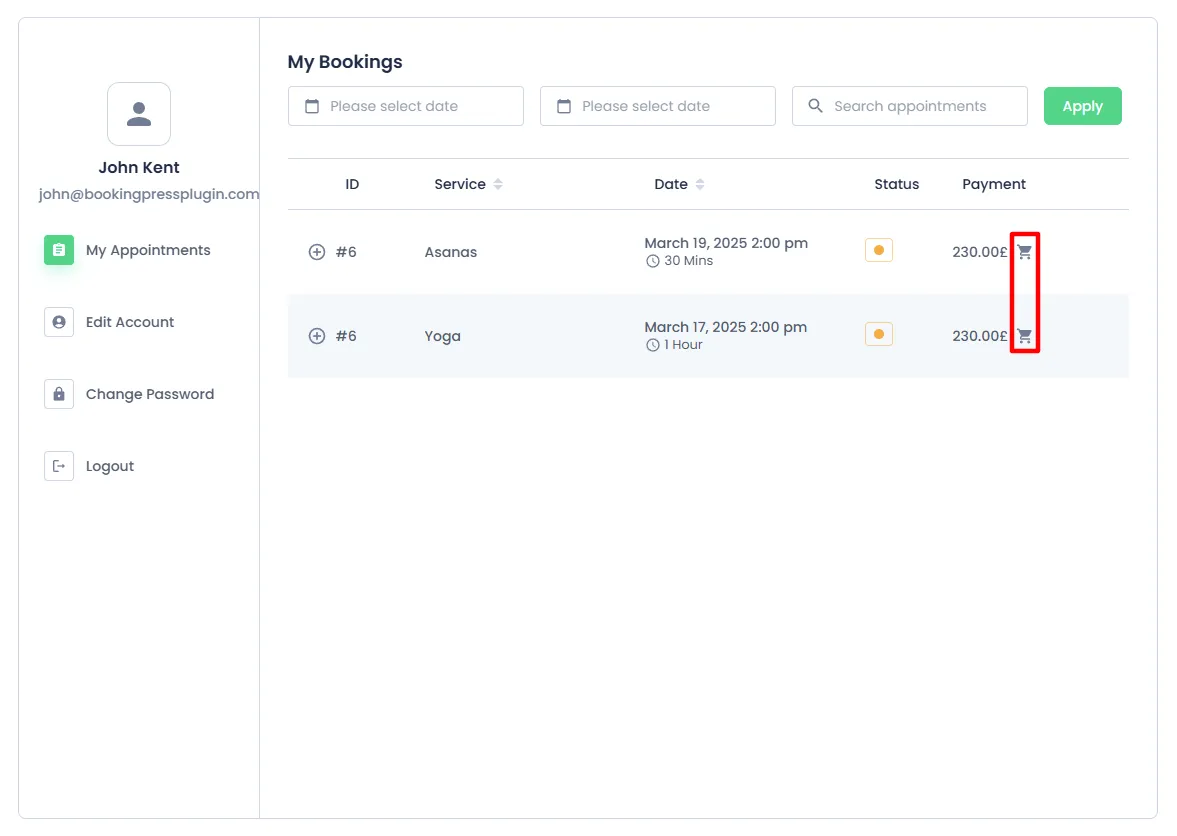
Customer Panel:
- Customers can view their cart bookings in their account section (if enabled).
- They can reschedule or cancel based on the admin’s configured settings.