Customize Customer Panel
BookingPress allows you to customize the front end “My Bookings” section where customers can manage their appointments after booking.
From here, you can decide what actions exactly your customers can control like cancel or reschedule, login behavior, redirections, and label customization.
What is the “My Bookings” Section in BookingPress?
The My Bookings section is a front-end customer panel where the customers who booked with you can:
- View their booked appointments.
- Cancel or reschedule bookings.
- Repeat previous bookings.
- Manage their profile.
You can give your customer the control over their own appointments without contacting or troubling you.
What Can You Customize in My Bookings?
First of all, go to the BookingPress → Customize → Customer Panel.

From here, you can control:
- Customer access and permissions.
- Booking related actions like cancel, reschedule, repeat, etc.
- Login/authentication method.
- Page redirections.
- Labels and messages.
Customer Access & Booking Action Settings
Inside the “Content Settings” panel on the left panel, you can set what customers are allowed to do from their customer panel.
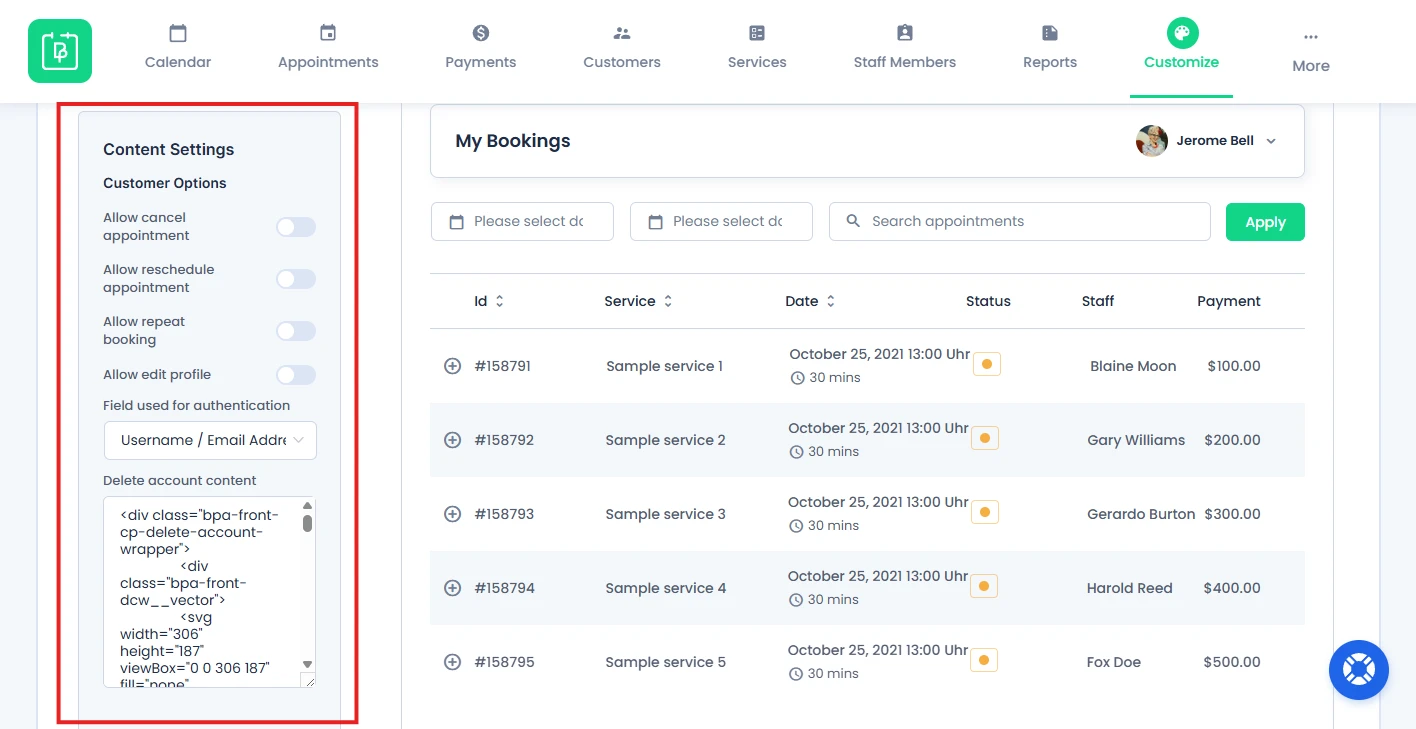
1. Allow Customer to Cancel Appointment
Inside the Customer Options, toggle on this option to allow customers to cancel their booked appointments.
- If disabled → Cancel button will not be visible.
- If enabled → Customers can cancel easily right from the front end customer panel.
2. Allow Customers to Reschedule Appointments
Inside the Customer Options, toggle on this option to allow customers to change:
- Appointment date.
- Appointment time.
Note: Once the appointment date has passed, it cannot be rescheduled.
3. Allow Customers to Repeat Bookings
Inside the Customer Options, this feature allows customers to quickly book the same appointment again.
When enabled:
- A “Repeat Booking” button appears.
- Customers are redirected to the booking page.
- Service, staff, and details are pre-filled.
- Only date and time need to be selected.
Note: Repeat booking will not work if:
- Service is removed.
- Staff is unassigned.
- Staff no longer provides that service.
4. Allow Edit Profile
Toggle it on to allow your customers to:
- Update their personal details.
- Manage their account from the front end.
5. Configure Login & Authentication for Customers
BookingPress now allows admin to select which field customers will use for authentication when logging in.
In other words, you can control how your customers can log in.
Simply toggle on the “Field used for authentication” option.
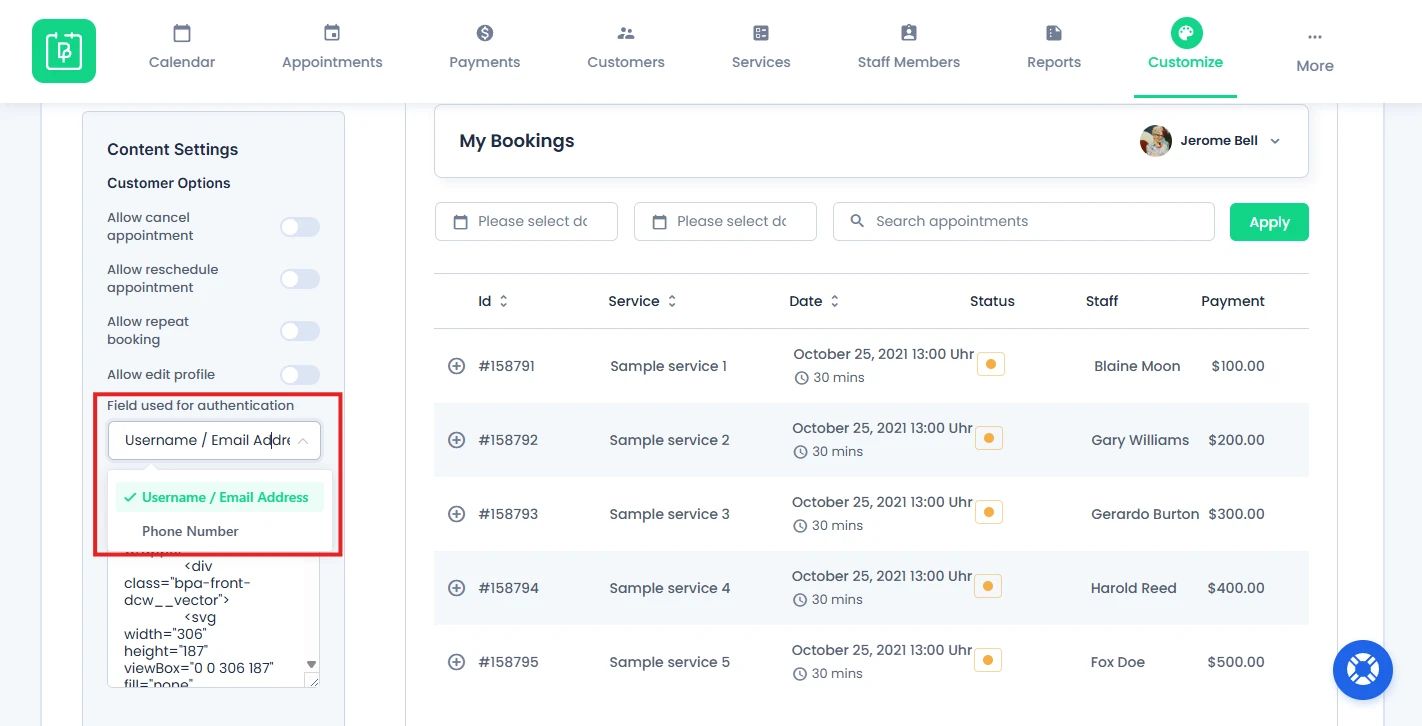
Now you can choose either of the below methods as the main login method:
- Username / Email Address.
- Phone Number.
How It Works in the Frontend for customer
- Once the login field is set by the admin, the customer login form will adapt automatically.
- If Phone Number is selected, customers can log in using their registered phone number instead of email or username.
- The login process remains secure and seamless, ensuring a consistent user experience.
This makes sure your customers get a smooth and flexible login experience.
6. Delete Account Content
Going forward, you will be able to set the content for deleting the account from the front-end by the customers.
Booking Redirection Settings
You can control where your customers will be redirected during different booking actions.
Here are all the available redirection options under Content Settings:
- Book Again Page selection :– Allow you to set the page you want to redirect your users to when they click on the “Book Again” button.
- Appointment Reschedule Page :- From here you can select the page where you would like to redirect your users to reschedule their booking.
- Appointment Cancellation Confirmation Page :- If you wish to display a specific page to allow users to cancel their appointment then you can set it from here.
- Cancelled Appointment Redirection :- If you want to display a specific page when an appointment is cancelled you can select the page from here.
This helps you create a guided user journey after each action.
Label Settings Customization
You can customize all text shown in the My Bookings page of the customer panel by swiping to the right. Here, you’ll see Label Settings on the right side panel.

From here you can alter the labels for the my-bookings page which appear on the front-end such as :
- Label Settings
- Login Related Messages
- Forgot Password Messages
- Edit Account Messages
- Change Password Messages
- Reschedule Appointment Messages
- Cancel Appointment Messages
Need a hand?
Our world-class support team is happy to help. Send us a message and we’ll take it from there.