Square Payment Gateway Addon
To get and Activate Square Payment Gateway, please follow the below steps.
- First, login to the BookingPress Website, and you will be redirected to the My Account page.
- Now, click on the “Access Passes” link from the left menu panel.
- After going to the Access Passes, click on the “View your downloads” button.
- From the list, please look for the “Square” add-on, click on the download button, and it will automatically start downloading the addon. After the download is finished, upload the downloaded zip file to WordPress just link any other WordPress Plugin, then install and activate the addon to use it.
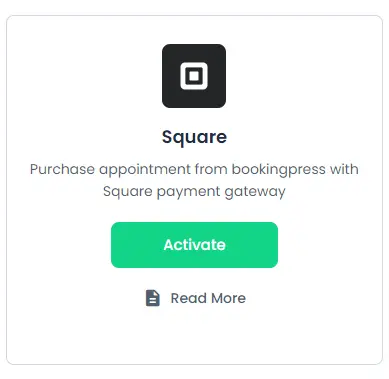
Please note you need to create a Square account in order to start using it on your BookingPress Appointment Booking website.
Square Payment Methods
BookingPress now supports Square Checkout and Square Card Elements for secure and seamless payment processing.
Square Checkout :
- Redirects customers to a hosted Square payment page.
- Secure, PCI-compliant, and optimized for multiple payment methods.
- Supports credit cards, digital wallets, and other payment options.
Square Card Elements (Embedded Form) :
- Allows customers to enter card details directly on your website using a secure, Square-hosted payment form.
- Provides a seamless checkout experience while ensuring PCI compliance.
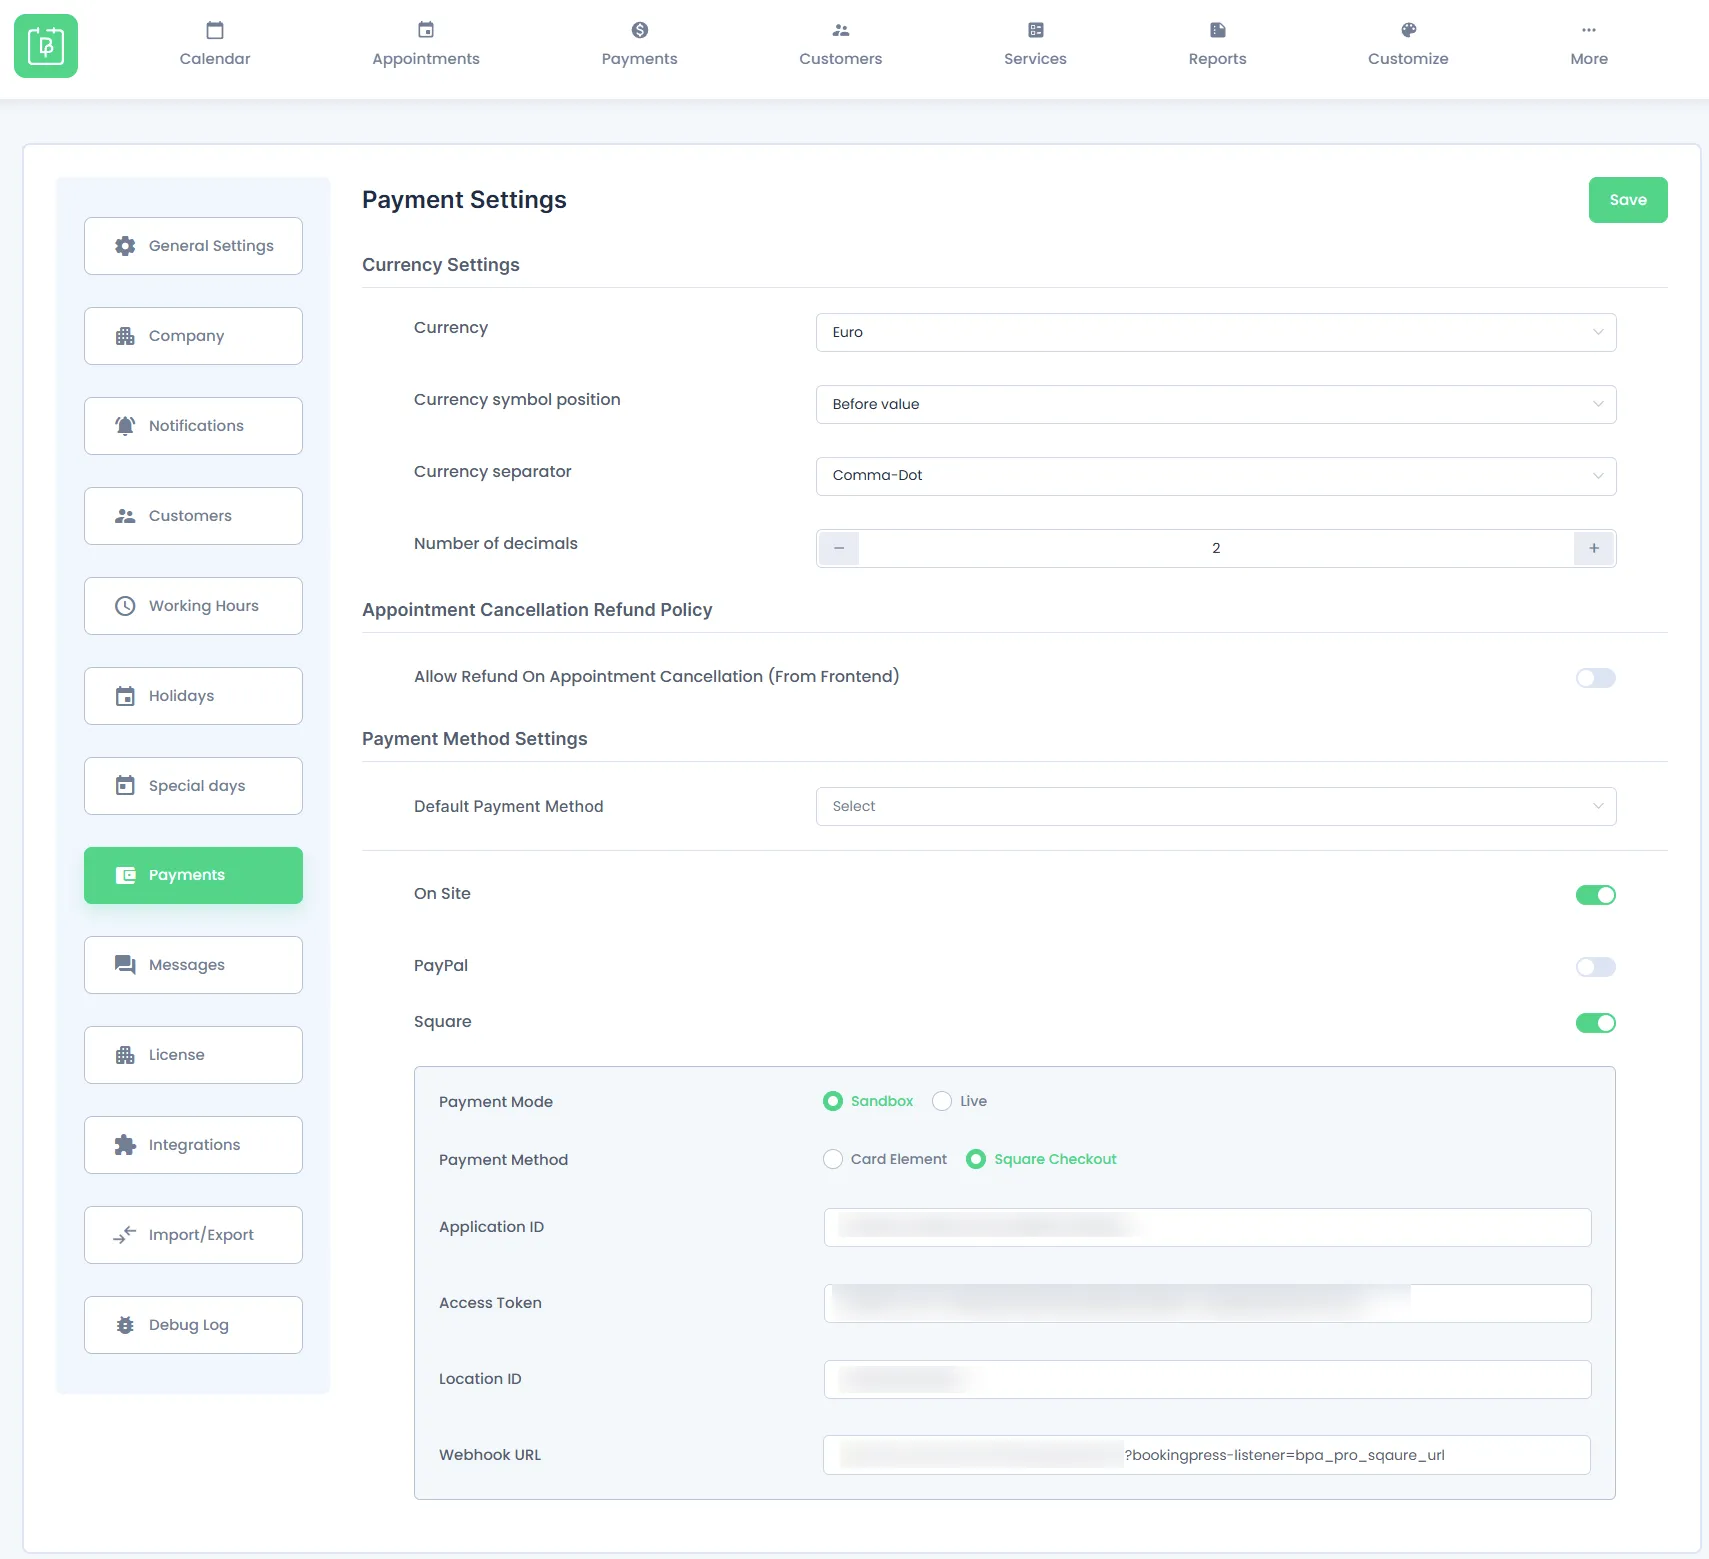
Configuring Square Payment Gateway in BookingPress
- Navigate to
BookingPress > Settings > Payments. - Enable the Square payment gateway by toggling the switch.
- Enter the required credentials: Application ID, Access Token, Location ID
- Select your preferred payment method:
- Square Checkout (redirects to Square’s hosted payment page).
- Square Card Elements (integrates a secure payment form on your site).
Click Save to apply the changes.
Obtain API Credentials from Square
To set up Square payments, you will need an Application ID, Access Token, and Location ID.
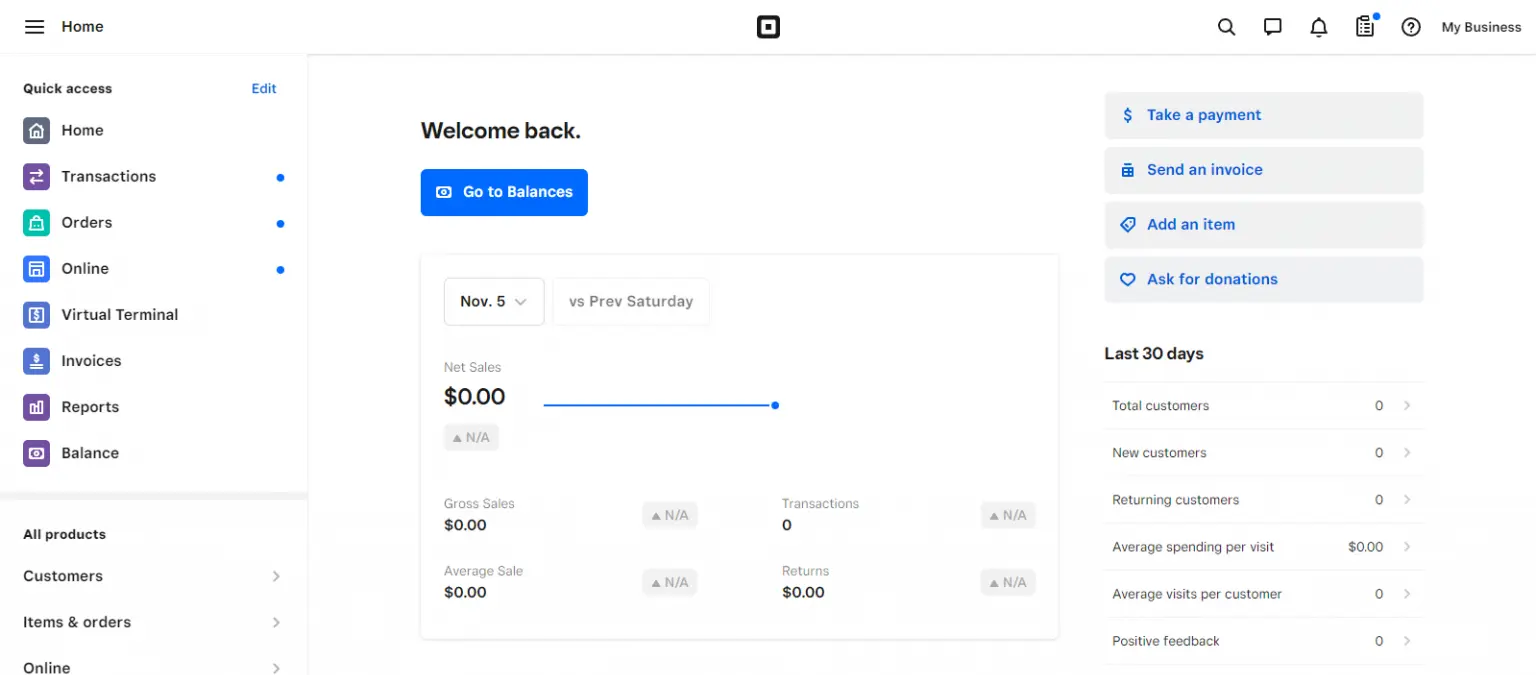
1. Log in to your Square Developer account and head over to your Square Developer Dashboard
2. Create a new application (if you don’t have one), you can easily go to the step by clicking on the link here.
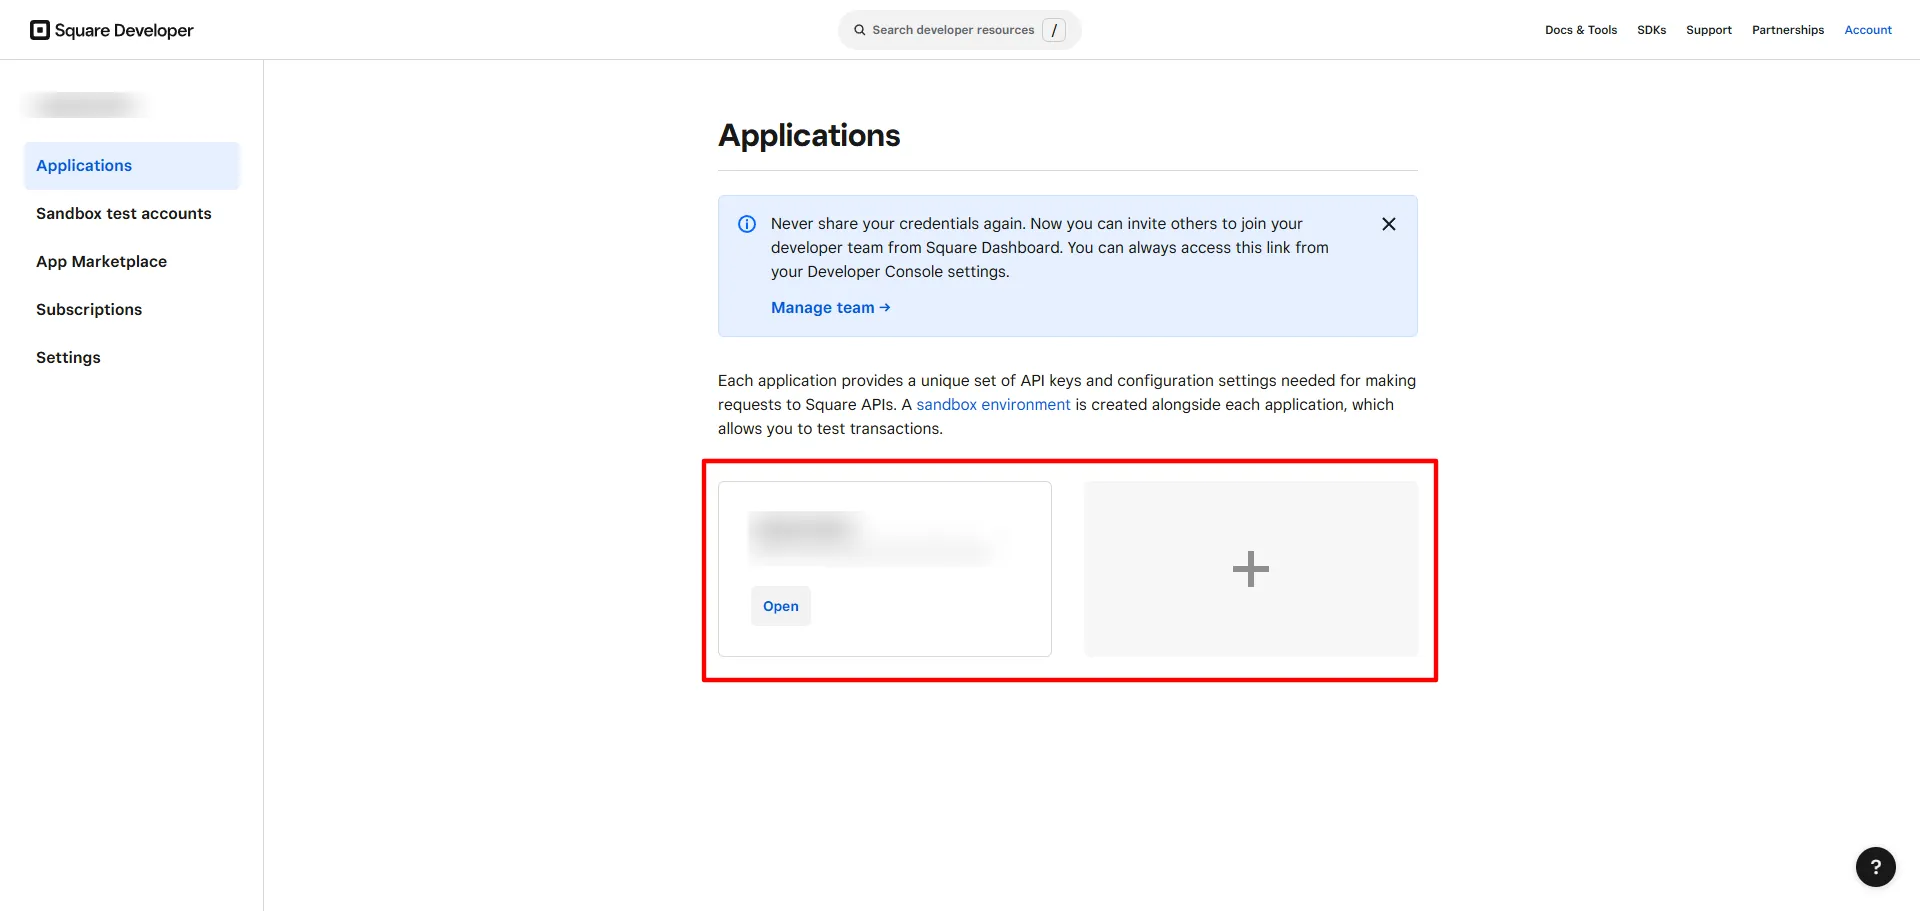
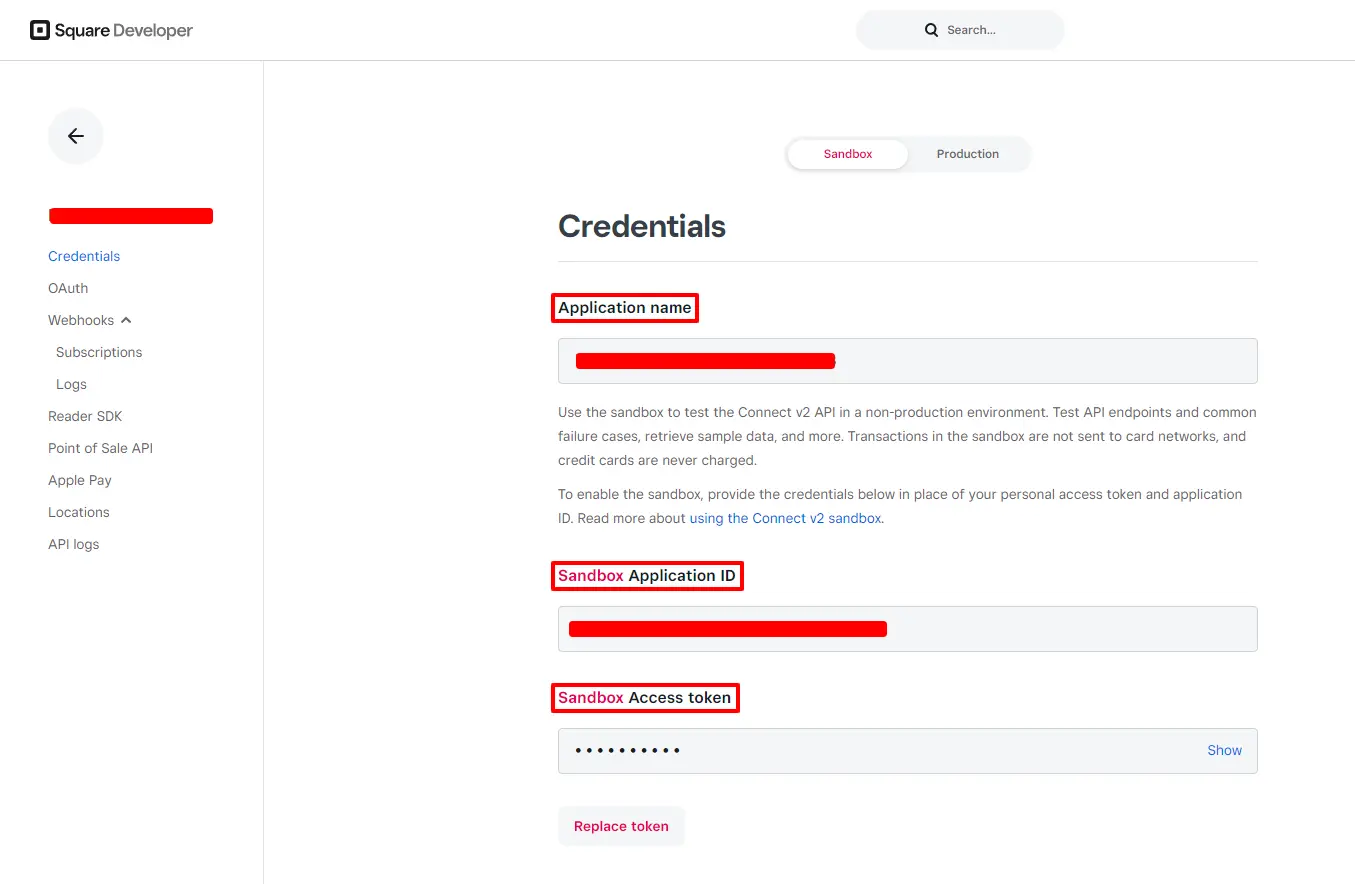
3. Open your app and select the Payment Mode:
- Sandbox (for testing)
- Production (for live transactions)
Here you will find the Application ID and Access Token
For your Locations, from the sidebar click on Locations. Here, simply choose the Sandbox or Production/Live Payment Method and you will find the Location ID.

Configuring Webhook URL for Square Payments
Note: This is applicable for Square Checkout Payment Method only!
Head over to your Square Dashboard.
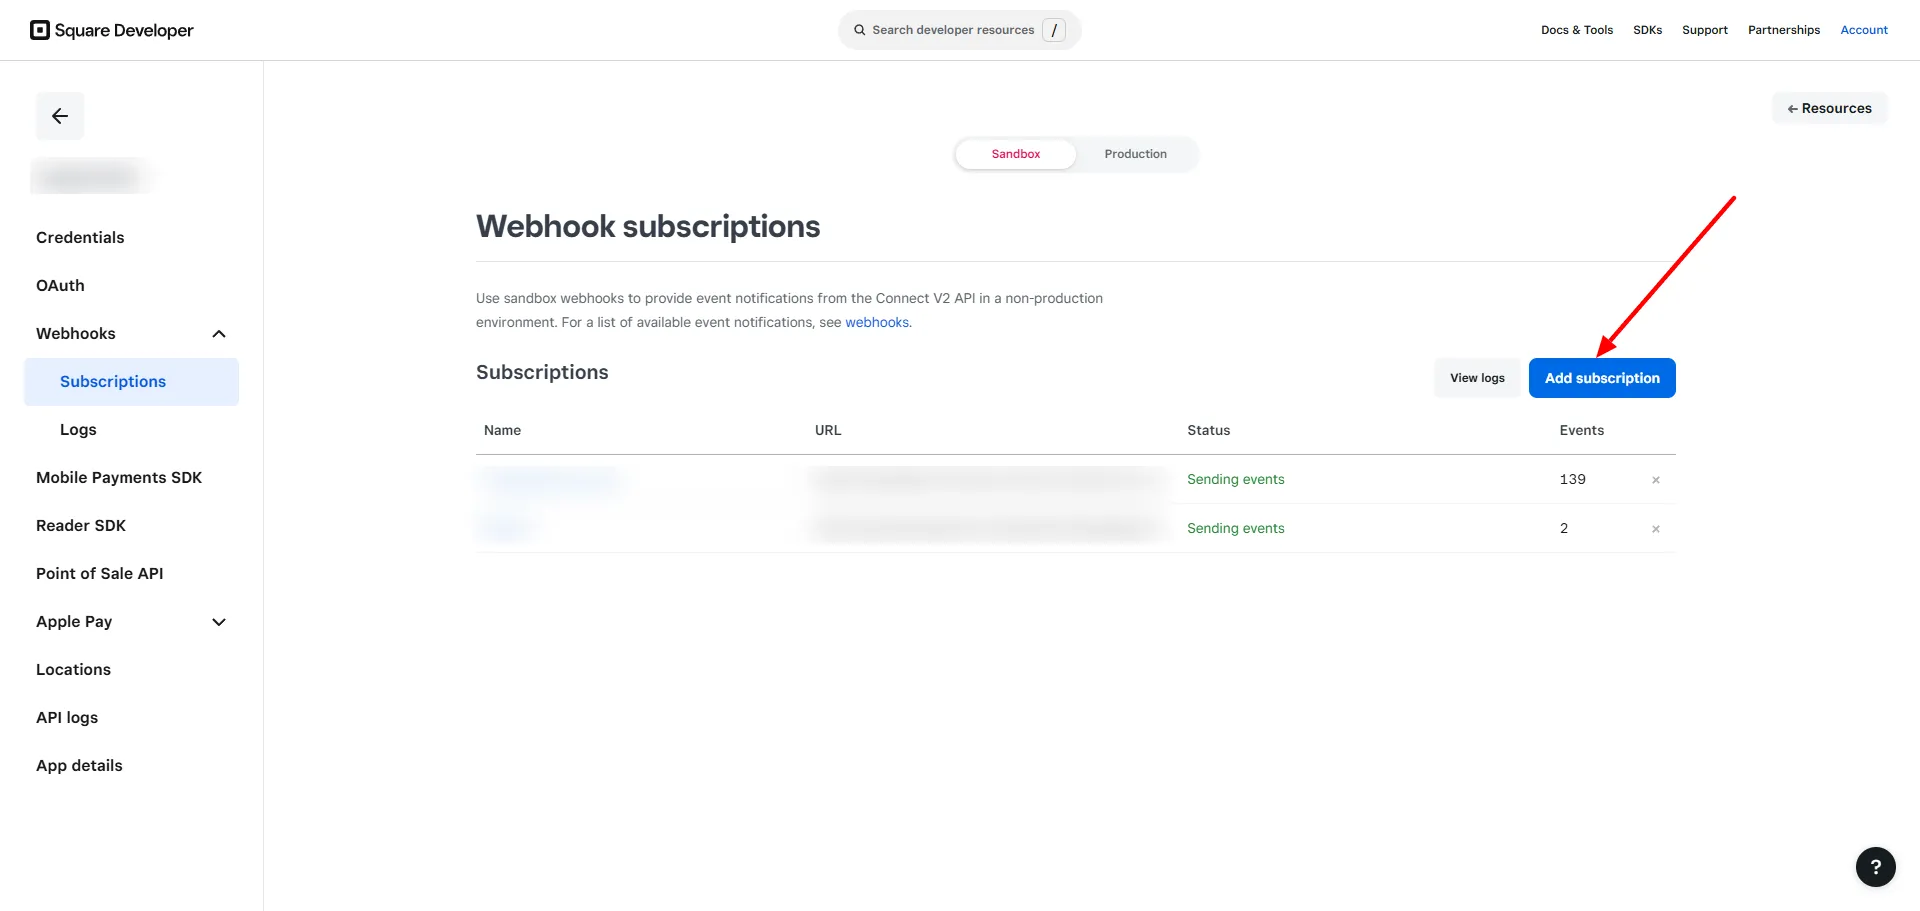
- Click on Apps and select the application you are using for BookingPress.
- From the Side Bar select
Webhook > Subscriptionand click Add Subscriptions. - In the Webhook URL field, enter the Webhook URL that you copied from
BookingPress > Settings > Payments. (https://yoursite.com/?bookingpress-listener=bpa_pro_square_url)
Select the event types that should trigger the webhook. Ensure at least the following are selected:
payment.createdpayment.updated
Click Save to activate the webhook.
Note: The webhook will allow Square to send real-time payment notifications to your BookingPress website, ensuring smooth transaction tracking.
Square payment gateway supports ‘AUD’, ‘BRL’, ‘CAD’, ‘CZK’, ‘DKK’, ‘EUR’, ‘HKD’, ‘HUF’, ‘ILS’, ‘JPY’, ‘MYR’, ‘MXN’, ‘TWD’, ‘NZD’, ‘NOK’, ‘PHP’, ‘PLN’, ‘GBP’, ‘RUB’, ‘SGD’, ‘SEK’, ‘CHF’, ‘THB’, ‘USD’, ‘TRY’, ‘INR’ Currency.
Note: Enter different and valid Credentials for both “Sandbox and Live”.